
How I Painted This Tabby & White Cat Using a Brunaille Underpainting
- Marion Dutton
- Nov 20, 2025
- 2 min read
Foundations
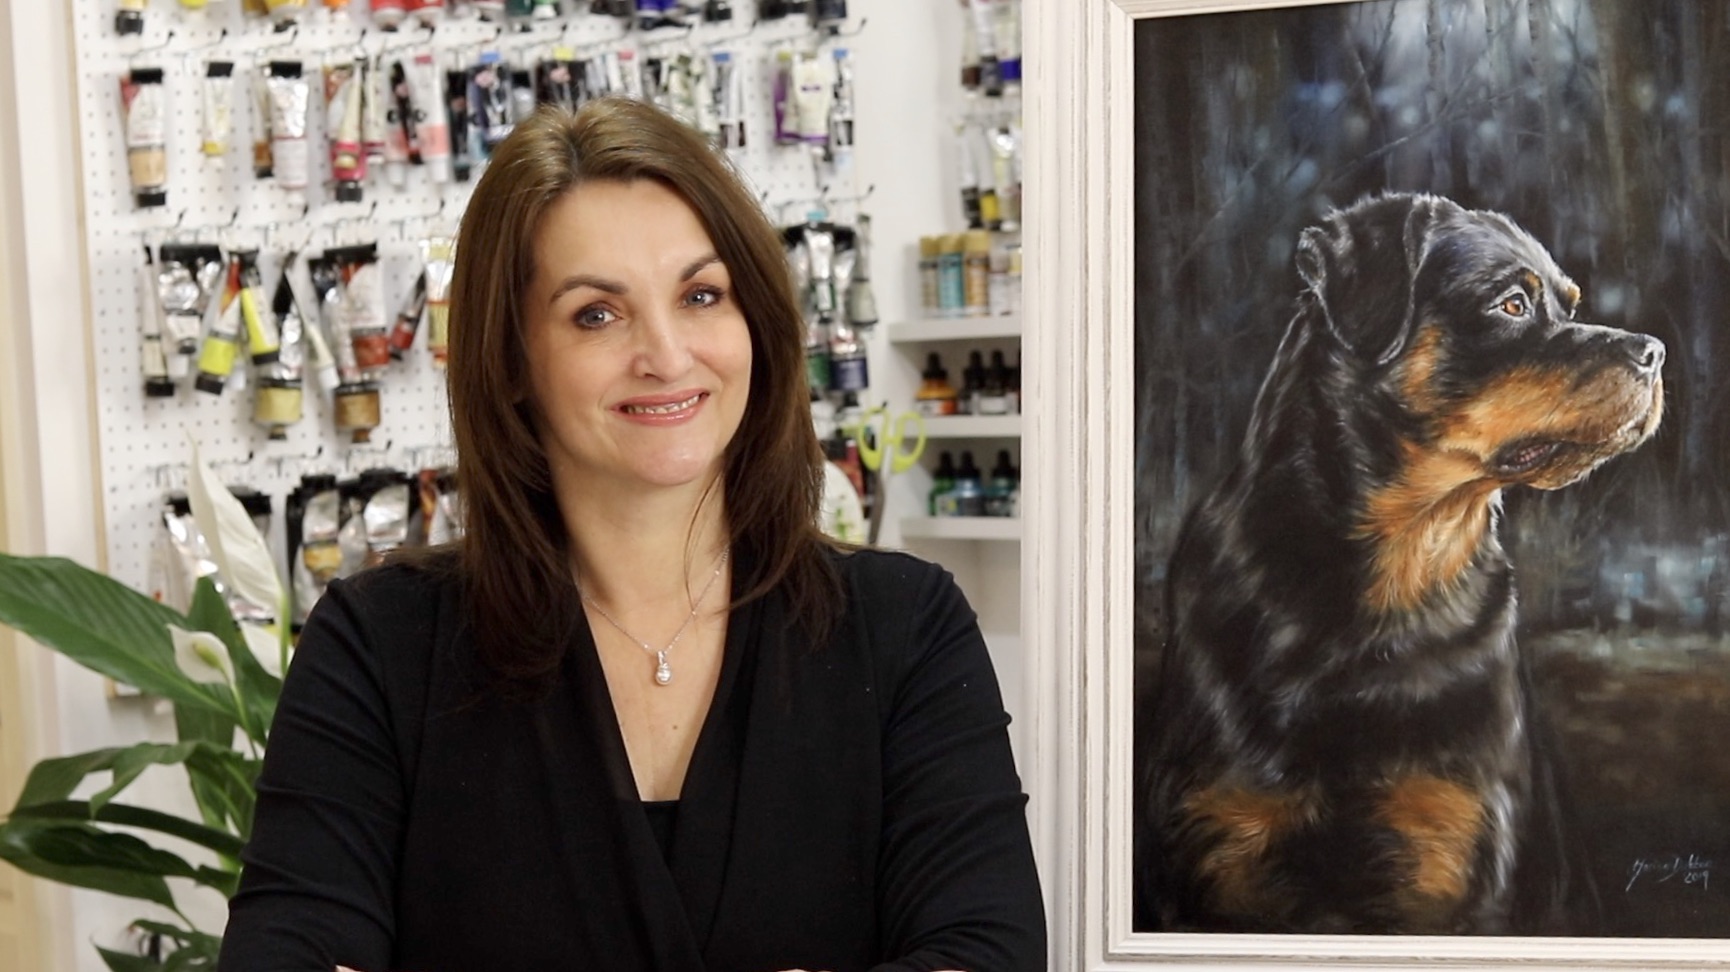
For this portrait, I began with a brunaille underpainting, a warm, earth-toned value study built from just four tonal steps. No colour at this stage, just light, shadow, structure, and accuracy. This simple foundation is what holds the entire portrait together later, even when the fur pattern becomes more complex in the colour layers. I primed the canvas with Michael Harding Titanium Buff, which provided a perfect mid-tone to work from and allowed me to use underpainting white to push the lighter values further and build the chunky chest fur with real control.

Building the Map
In the underpainting, I wasn’t painting fur. I was mapping shapes. Big blocks of shadow, mid-tones, and a few carefully erased lights using my typist eraser. This gives me a clear roadmap for the colour layers and keeps everything anchored and believable. Using the underpainting white, I was able to establish the start of that chunky fur quickly.
Colour With Purpose
Once the underpainting dried, I moved into colour. I always start with the eyes. A mid-green base first, then lighter greens, then that cool blue reflection that makes the eye come alive. Even though the first colour pass on the fur can look a bit too green, colour is always relative. Once the surrounding tones on the background go in, it settles beautifully. Tip: never judge a colour until it is in its proper context.
Chunky Chest Fur
The chest was one of my favourite moments in this portrait. I began by covering the whole area with my grey values, keeping everything soft and simple. Then, while that first colour layer was still wet, I started refining the shapes of the fur, blending gently into the underlying tone so nothing felt harsh or separate. I built the shadows first, then layered in lighter greys, always working wet-into-wet, before finishing with a light touch of the mop to give the chest that natural, flowing softness.
Direction, Texture, Life
In the second colour layer, I refined everything, adding darker darks, lighter lights, and then switching to my liner brush for those directional fur strokes. This is where the portrait starts to take on personality: the softness of the chest, the stripes across the back, the glow in the ears, and that little pink tongue.
The Final Touches
Whiskers, highlights in the eyes, the cool purples and greens in the background… all those finishing touches pull the whole piece together. Every stroke is still guided by the simple four-value foundation laid down at the start. By pre-mixing those initial four colours, I was able to reach a full range of colours on this cat, whilst maintaining a beautiful colour harmony.
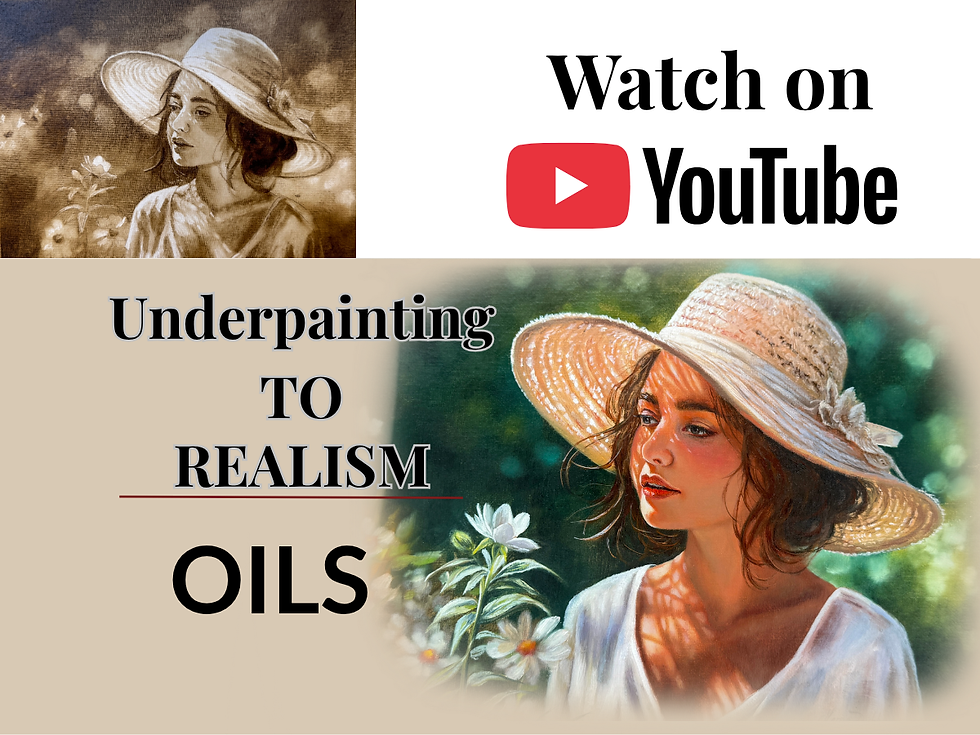
Watch the Full Process
You can watch the entire painting from start to finish on YouTube, underpainting, colour layers, refining stages, and the final reveal.
If you want to go deeper and learn how to paint portraits like this in real time, the full Intermediate Pet Portrait Course is inside the Academy, along with my complete Beginner Course too.

Bringing one into your home means welcoming not just a beautiful and distinctive cat, but a devoted